

5 Ways to Use YouTube Annotations Like A Pro | Use YouTube Annotations Effectively
/
5 Ways to Use YouTube Annotations Like A Pro #youtube #socialmedia
YouTube Annotations can be a great way improve your video content on the site, whether that be to add an extra layer of detail, to entertain, or to add a clickable call to action. Not all annotations, however, are created equal. Here are five ways to optimise the use of yours, in a way that will enhance your viewers' enjoyment of your videos, instead of turning them away.
Note: The annotation examples below are demonstrated on top of some of my 'home video' content, but the principles easily apply to business and marketing content.
1. Annotation Duration
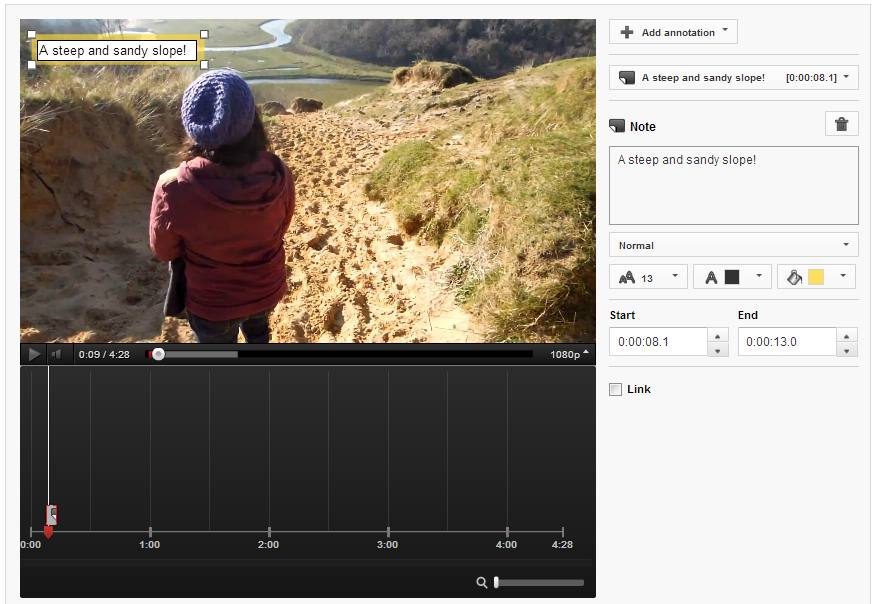
Annotations can be displayed on top of a video for as long a time as you choose, and while they can be manually closed by the viewer, you don't want to have to make them resort to this as it will disrupt their viewing experience. Therefore, aim to have your annotations appear onscreen for only as long as it takes to read them. In most cases, this will be no longer than 5-7 seconds.
2. Annotation Size
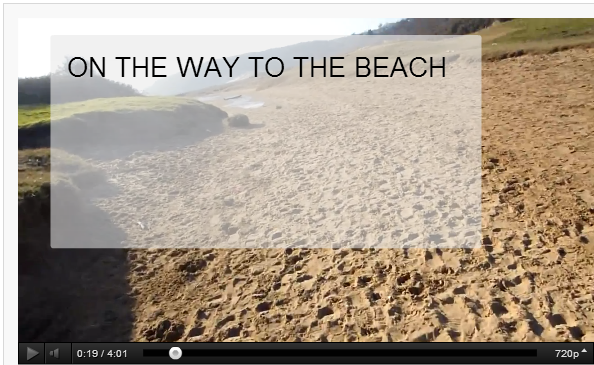
By dragging the edges of your annotation in the editor, you can make them as big or as small as you like. Just because you can make an annotation cover the whole of the screen, however, doesn't mean you should! While you'll want it to be seen, the mere action of it popping up onscreen is enough for the majority of people to notice it. Try to keep your annotations as small and unobtrusive as possible, and also refrain from typing their content in ALL CAPS, as this approach can be considered rude and "shouty" online.
3. Annotation Colour
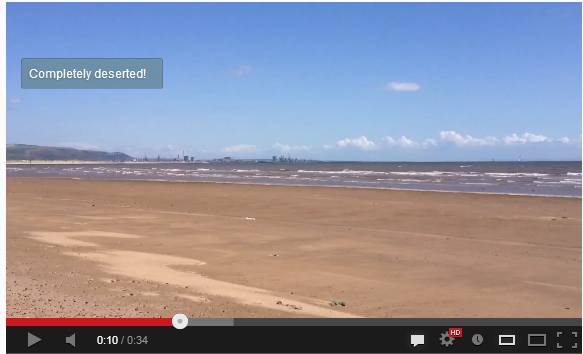
YouTube allows you to set the background and text colour of your annotations, but unless the content of the message is absolutely critical to the video (like explaining a detail you forgot to include during recording), their hues are best left subtle. Bright colours like red, yellow, and green are attention-grabbing, but pale and transparent colours are much classier and are much less likely to spoil a viewer's enjoyment of your video. In short, annotations do not always have to take centre stage.
4. Annotation Placement
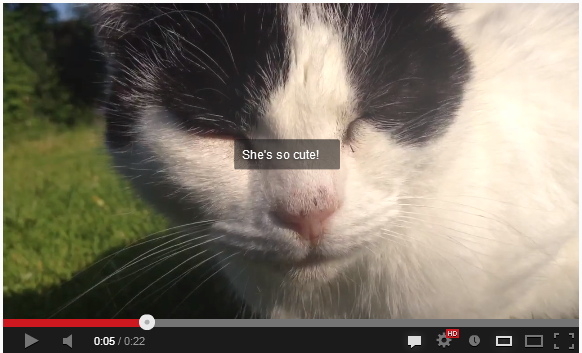
As in some of the points above, annotation placement is all about them being as unobtrusive as possible - not like the example above, which completely ruins a cute shot of Jenny the cat! The best placement for annotations is at the left and right sides of the video, near the top of the bottom. Avoid placing annotations in the lower third of the video, as there is a chance that they will be obscured by overlay adverts.
5. Annotation Numbers

In short, the fewer annotations your video needs, the better. If your video ends up looking like the example above, it is bound to be a turn-off for your viewers - displaying multiple annotations at once can be distracting and confusing. There's one exception to this rule, however, and it's one I employ on the "end screen" of my videos. Here, I give viewers to either click a Subscribe button, or to click through to my previous video.
Conclusion And Over to You
So there you have it, five simple tips for YouTube annotations that won't only enhance your videos, but also ensure that the viewing pleasure of your audience is kept at as high a level as possible. Do you have any other tactics for the optimum use of annotations? Let me know in the comments below!
ABOUT THE AUTHOR
Andrew Macarthy is the author of the #1 Amazon Bestseller, 500 Social Media Marketing Tips.
Buy 500 Social Media Marketing Tips (Kindle or Paperback)
Amazon US: http://www.amazon.com/dp/B007L50HE6
Amazon UK: http://www.amazon.co.uk/dp/B007L50HE6
Follow Me:
http://www.facebook.com/500socialmediatips/
https://pinterest.com/500socialmedia/
http://www.twitter.com/500socialmedia
http://www.youtube.com/500socialmediatips