
5 Ways Brands Can Use Hashtags on Facebook for Marketing | Facebook #Hashtags Marketing
/Facebook recently introduced hashtags to its site - and about time too! - giving marketers a fascinating new tool to help try to boost engagement and interaction with their fans. Here are five ideas to help brands kick start their use of hashtags on Facebook:
1. Add your hashtag to your cover photo

One of the easiest ways to promote your hashtag to fans is to feature it in your cover photo, whether it's a hashtag that will always stay the same (such as your brand name) or one that will change over time (like one related to a seasonal promotion).
2. Search your hashtag and join the conversation

Hashtags on Facebook give you a much easier way to find out what people are saying about you and your brand. So, search for mentions of your brand's hashtag periodically and join in on the conversation to help drive engagement and strengthen relationships with your customers.
3. Use hashtags in your status updates and comments
Facebook hashtags work as clickable links in Page posts, personal profile posts, and in comments, so don't forget to feature them in these places where appropriate. With consistent use and the odd prompting, you will educate your customers to start using your hashtags too!
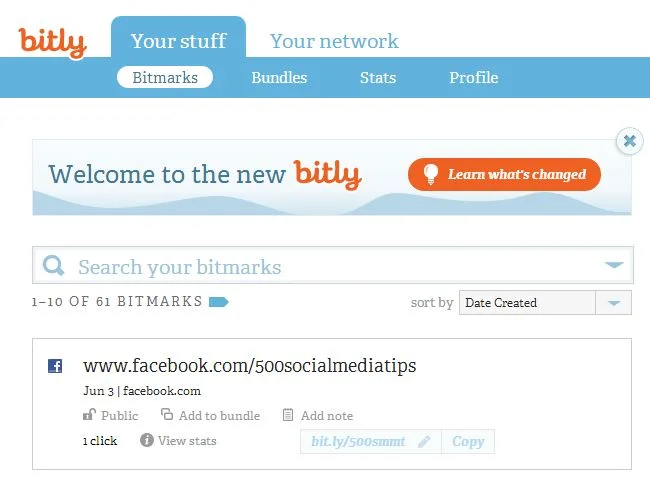
4. Utilise your hashtag's unique URL to drive traffic and engagement
Each hashtag used on Facebook has its own feed and unique URL. In the above example, the hashtag is #500socialmedia to represent my book, and the URL is http://www.facebook.com/hashtag/500socialmedia. The format always stays the same: facebook.com/hashtag/yourhashtag.
Use this knowledge to drive customers to your hashtag feed - especially in real world marketing material - to interact and engage. Utilise re-directs and URL shorteners like bit.ly to make a link to the feed more memorable.
5. Remember: #hashtags join across all Facebook-integrated services
One of the coolest things about Facebook hashtags is that their function is maintained across Facebook-integrated services. In the example above, I shared this image from my Instagram account to my Facebook fan page. The image's caption remained in tact, and its hashtags are there and clickable too.
Conclusion
I hope this post has given you some inspiration for how you might use hashtags on Facebook as part of your own social media marketing strategy. Let me know how you intend to integrate hashtags in the comments below!
ABOUT THE AUTHOR
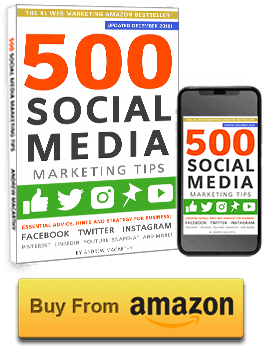
Andrew Macarthy is the author of the #1 Amazon Web Marketing Bestseller, 500 Social Media Marketing Tips, available for Kindle and in paperback.
Buy 500 Social Media Marketing Tips
Amazon US: http://www.amazon.com/dp/B007L50HE6
Amazon UK: http://www.amazon.co.uk/dp/B007L50HE6
Follow Me:
http://www.facebook.com/500socialmediatips/
https://pinterest.com/500socialmedia/
http://www.twitter.com/500socialmedia